Locations is where you store the physical venues you use for your events. Once a location is saved, you can attach it to an event so customers see the correct address and map, and so your check-in and operations line up with the right place. You can search for a venue automatically or enter its address by hand.
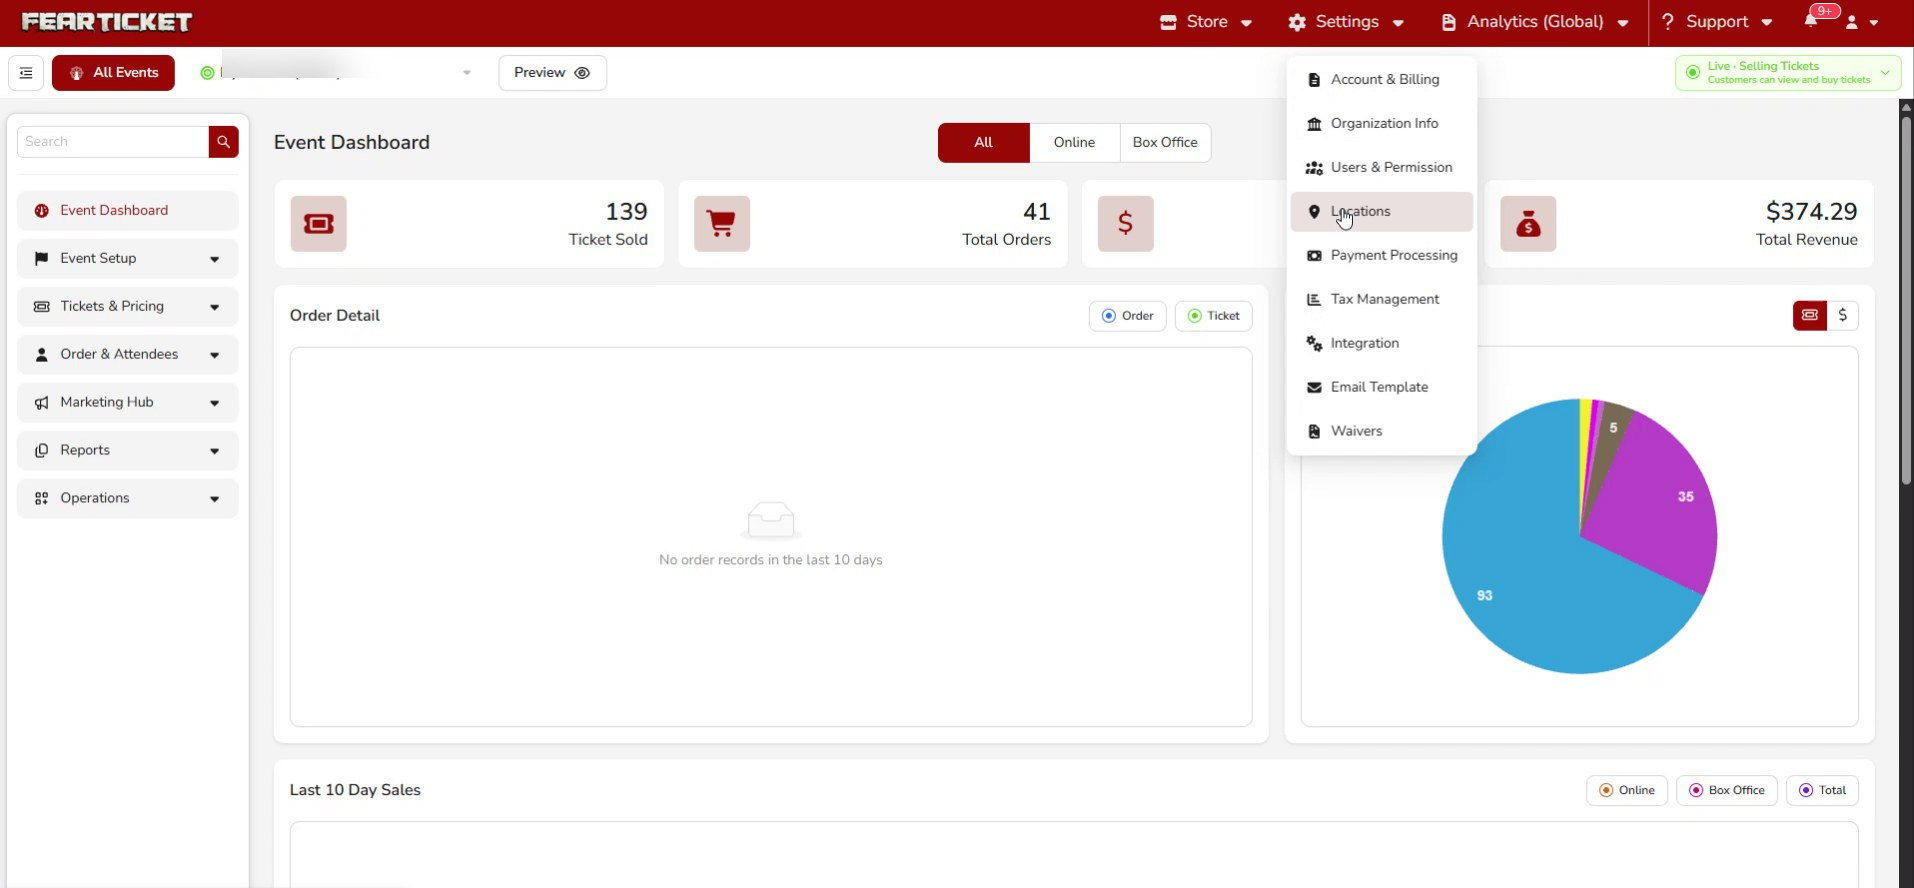
Settings in the top bar, then choose Locations.What you'll learn
- How to view your saved locations
- How to add a new location by search or by hand
- How to edit an existing location
Opening Locations
Click Settings in the top navigation and select Locations from the menu.
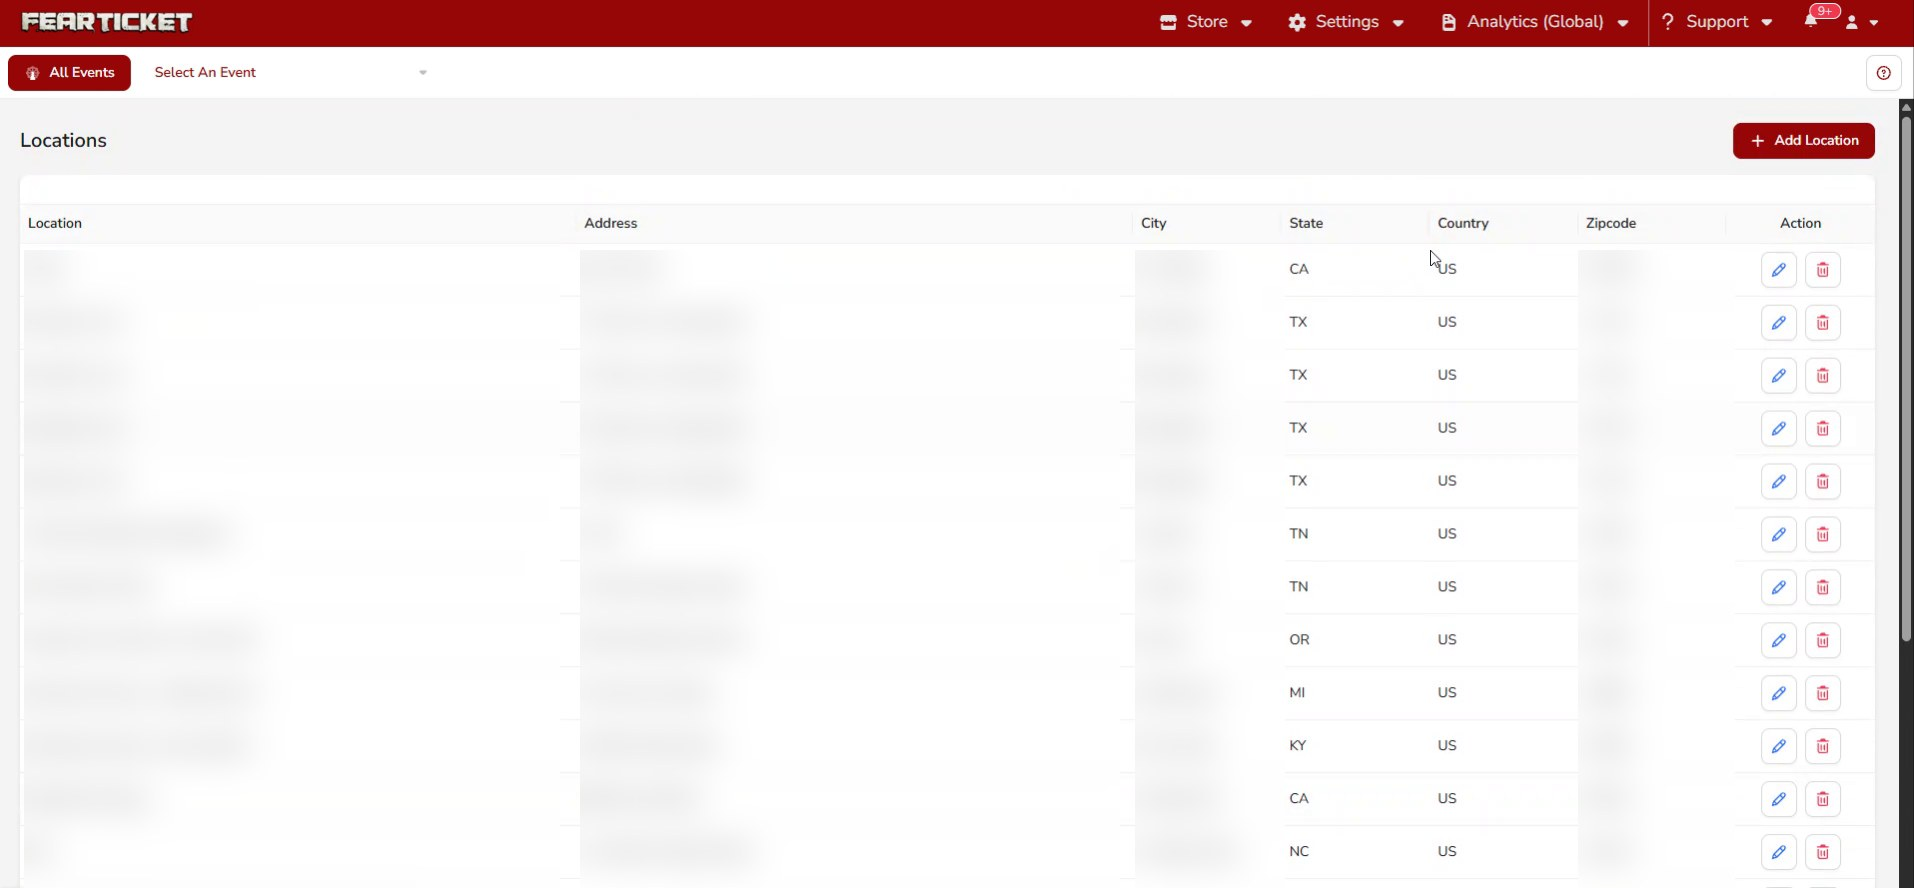
The Locations list
The list shows every saved location with its name, address, city, state, country, and zipcode. Use the edit and delete icons in the Action column to change or remove a location.
Adding a location
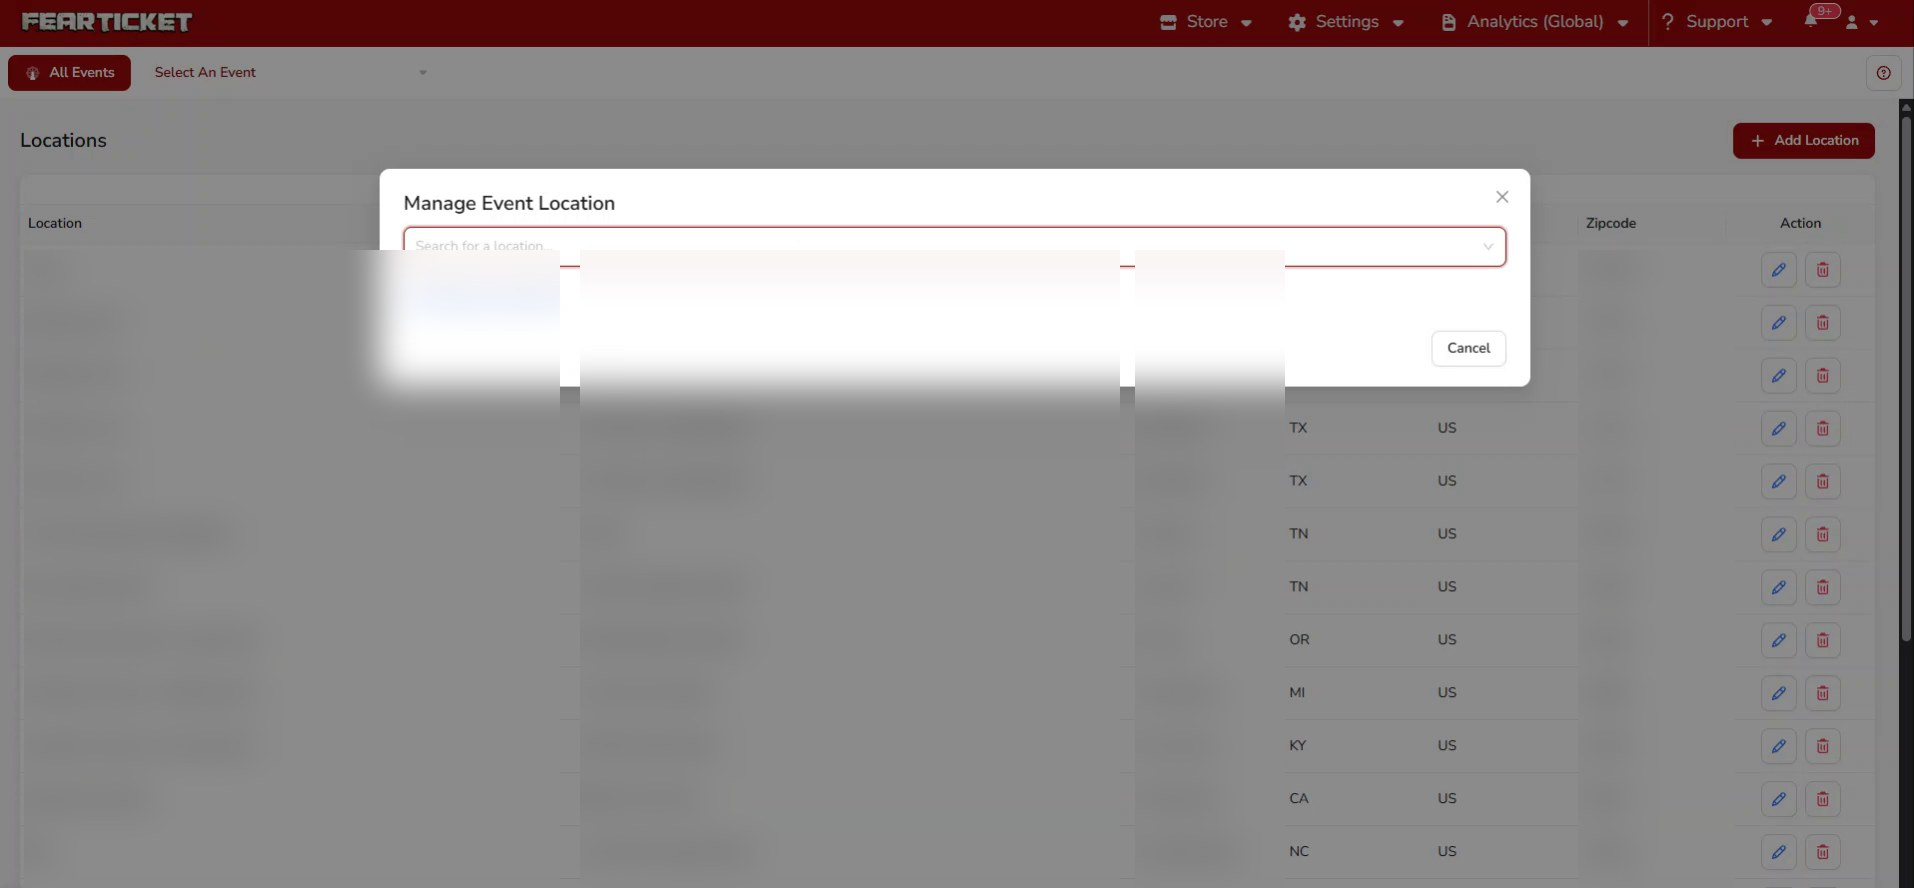
Click Add Location in the top right. The Manage Event Location window opens with a search box. Start typing the venue or address and pick the match from the suggestions.
Entering a location by hand
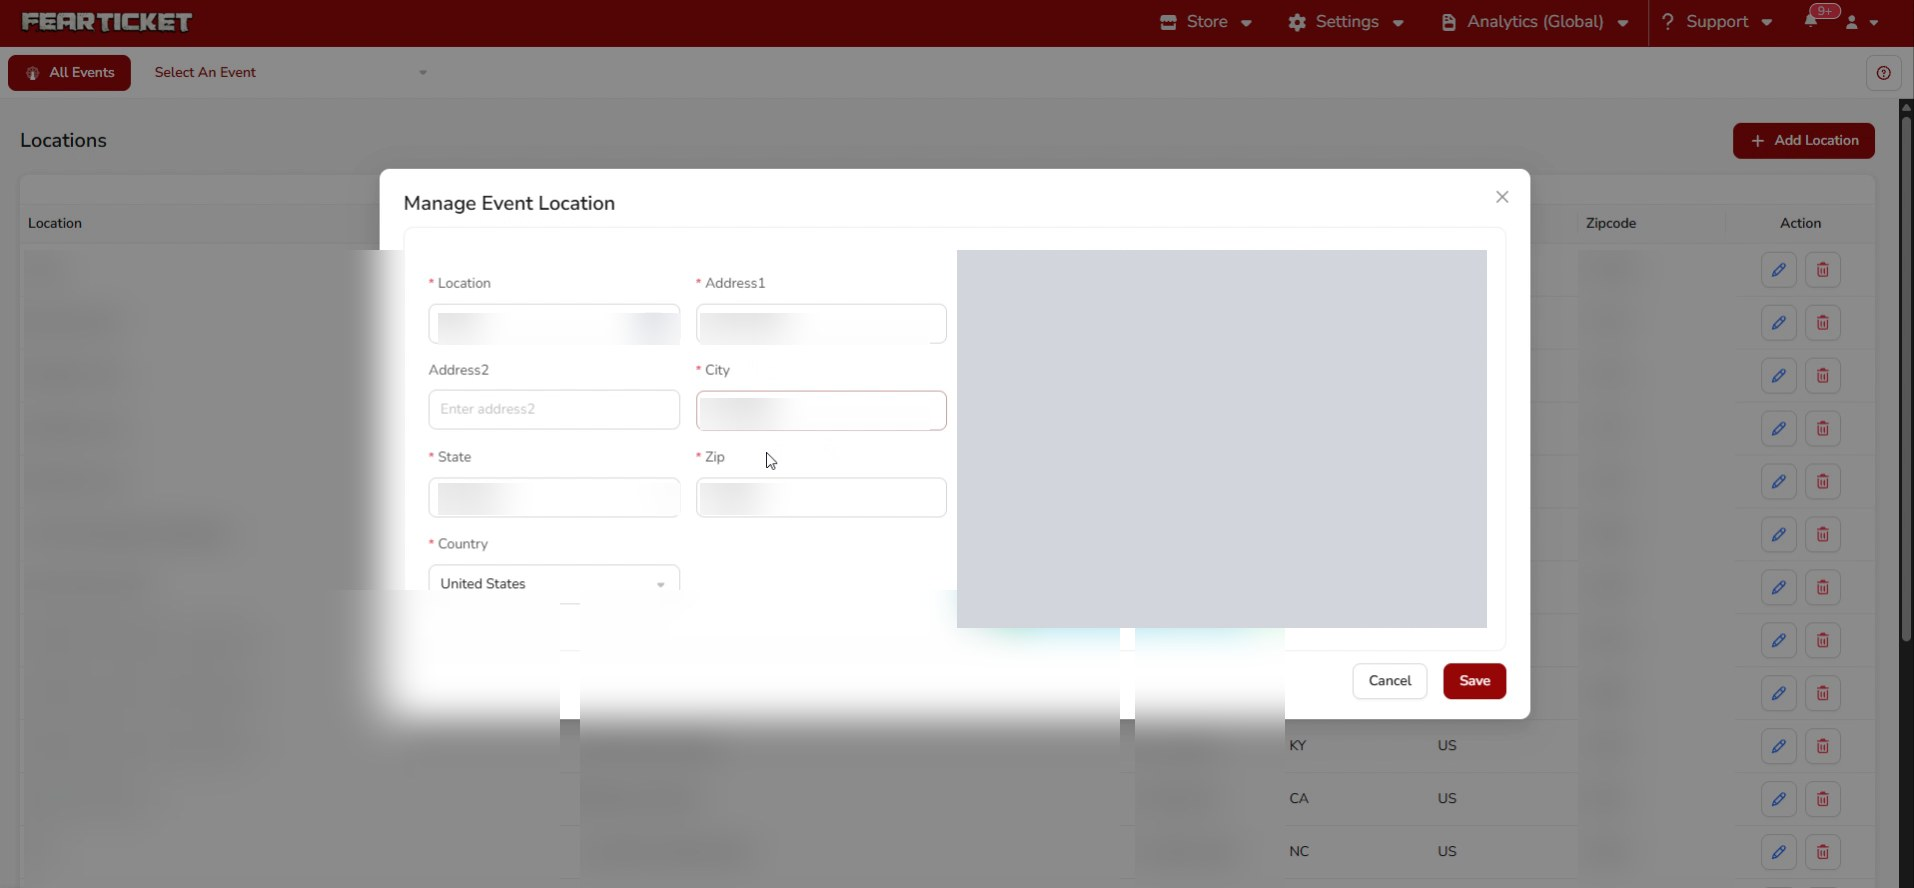
If the venue doesn't come up in search, click Can't find your location? to switch to manual entry. Fill in the location name, address, city, state, zip, and country, then click Save.
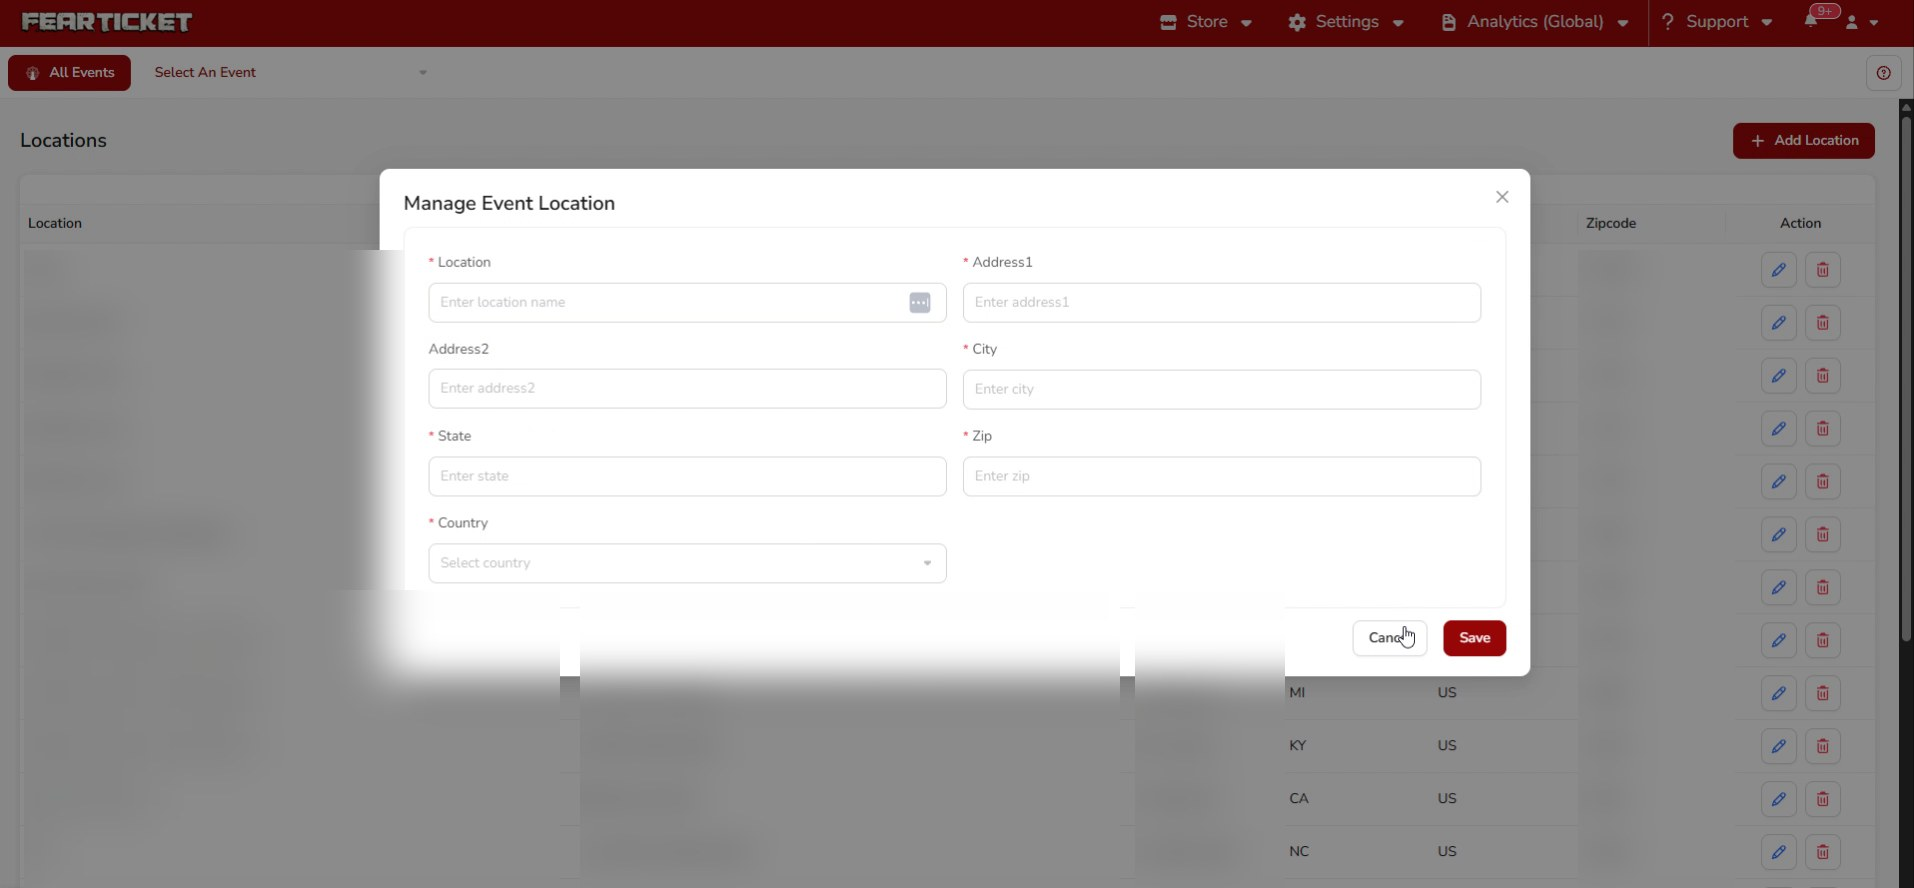
| Field | What to enter |
|---|---|
| Location | A name for the venue so you can recognize it in the list. |
| Address1 / Address2 | The street address. Address2 is optional (suite, unit, etc.). |
| City / State / Zip | The city, state, and postal code. |
| Country | The country, chosen from the dropdown. |
Editing a location
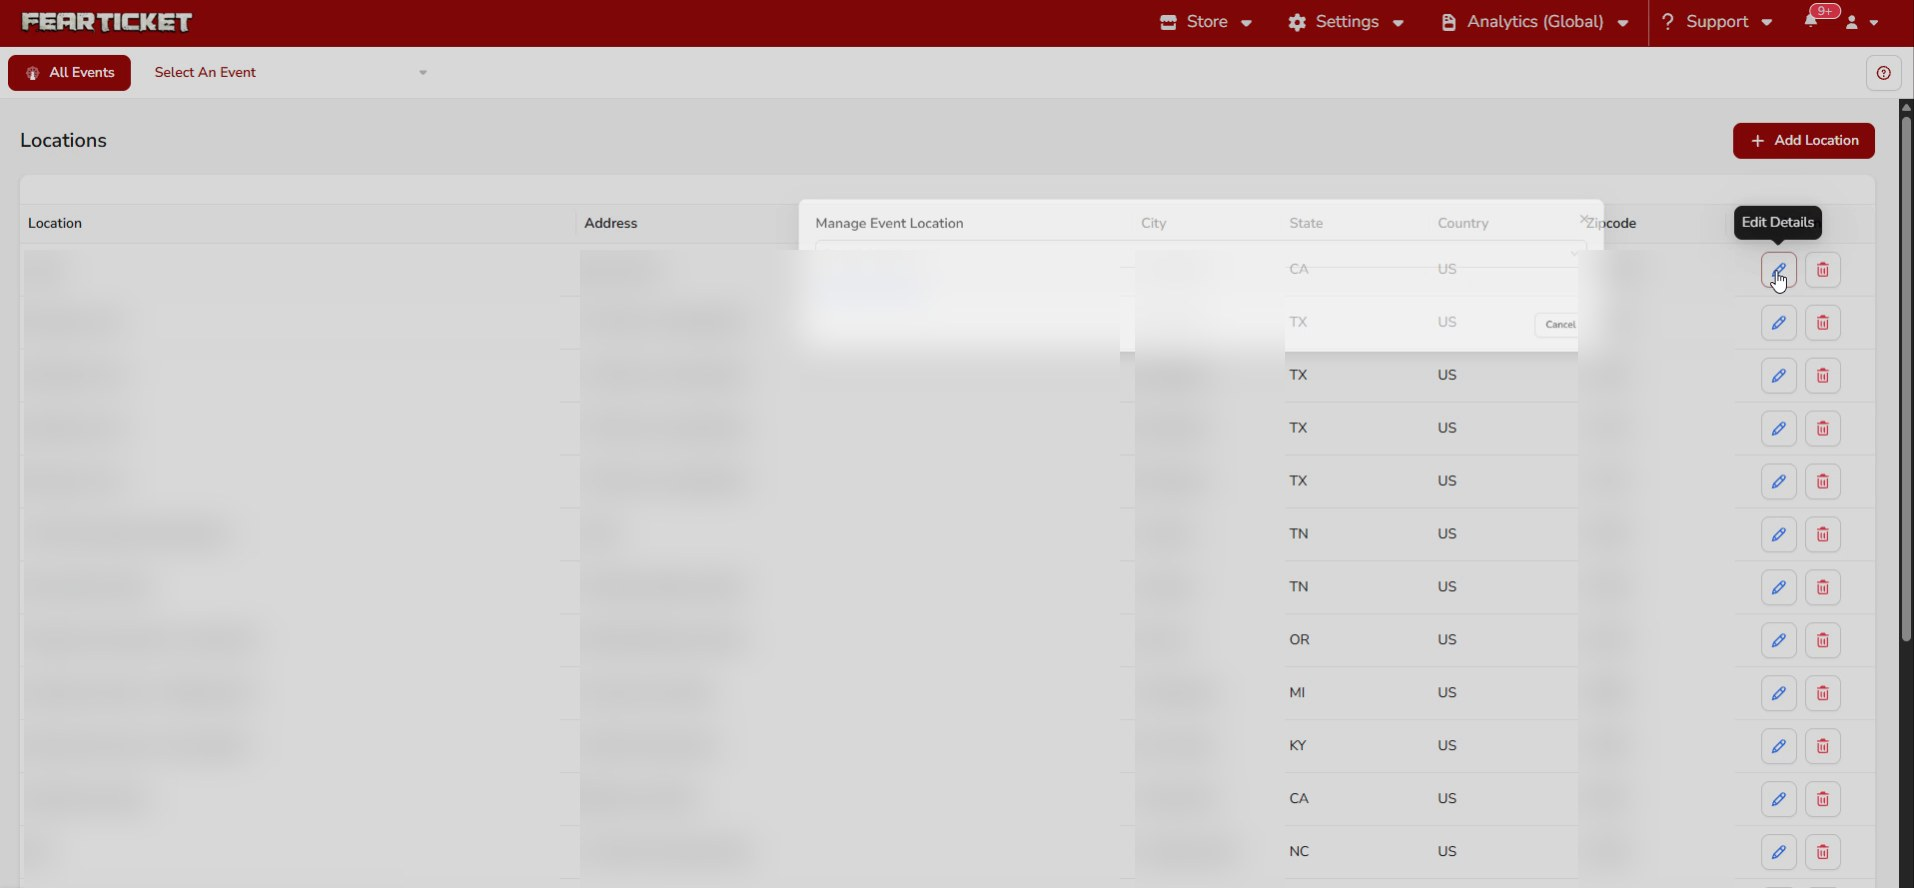
To change a saved location, click the edit icon in its row. The tooltip reads Edit Details.
The Manage Event Location window opens with the details filled in and a map preview of the address. Update any field you need, then click Save.
Was this article helpful?
That’s Great!
Thank you for your feedback
Sorry! We couldn't be helpful
Thank you for your feedback
Feedback sent
We appreciate your effort and will try to fix the article