Users & Permission is where you control who can access your account and what each person is allowed to do. You can add team members, assign them a role, limit them to specific events, and fine-tune exactly which parts of the system each role can view or change. This keeps day-to-day staff focused on what they need while protecting sensitive areas like billing and account settings.
Settings in the top bar, then go to Users & Permission. The page has two tabs: Users and Role & Permissions.What you'll learn
- How to view and manage your team members
- How to add a new user and assign a role and event access
- How to set up email notifications for a user
- How roles and their permissions work, and how to create a new role
The Users tab
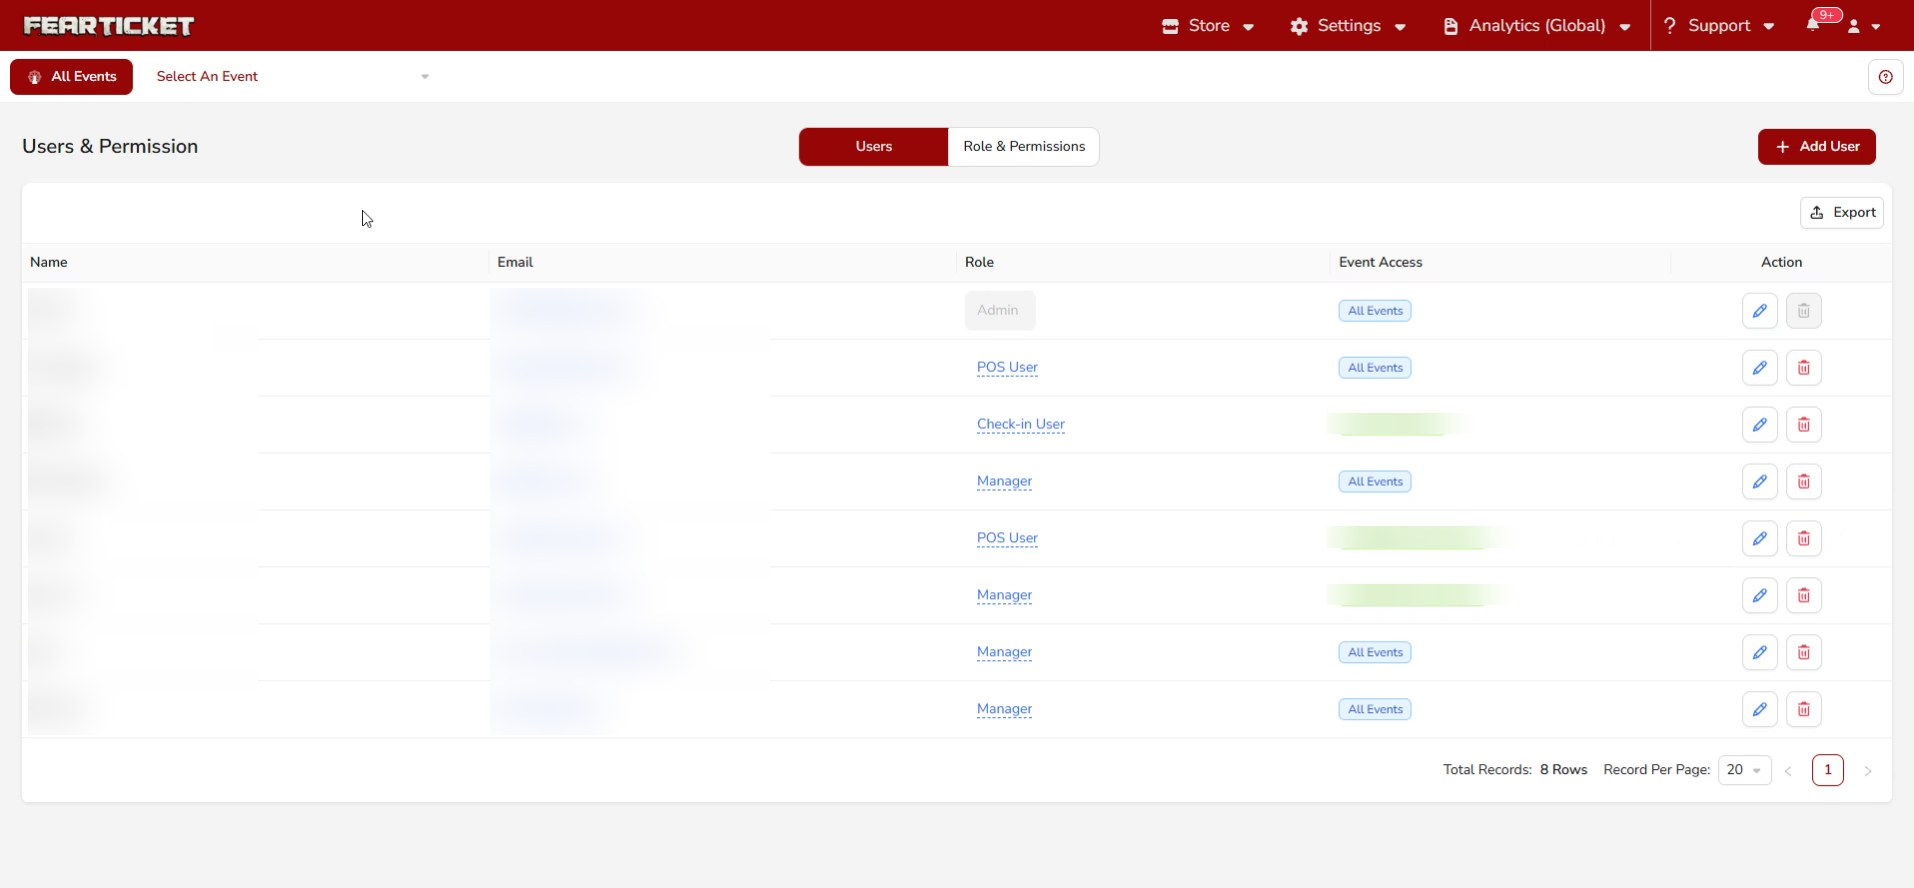
The Users tab lists everyone with access to your account, showing each person's name, email, role, and which events they can access. Use the edit and delete icons in the Action column to update or remove a user, or Export to download the list.
Adding a new user
Click Add User to open the Create User form. Fill in the details for the person you're adding.
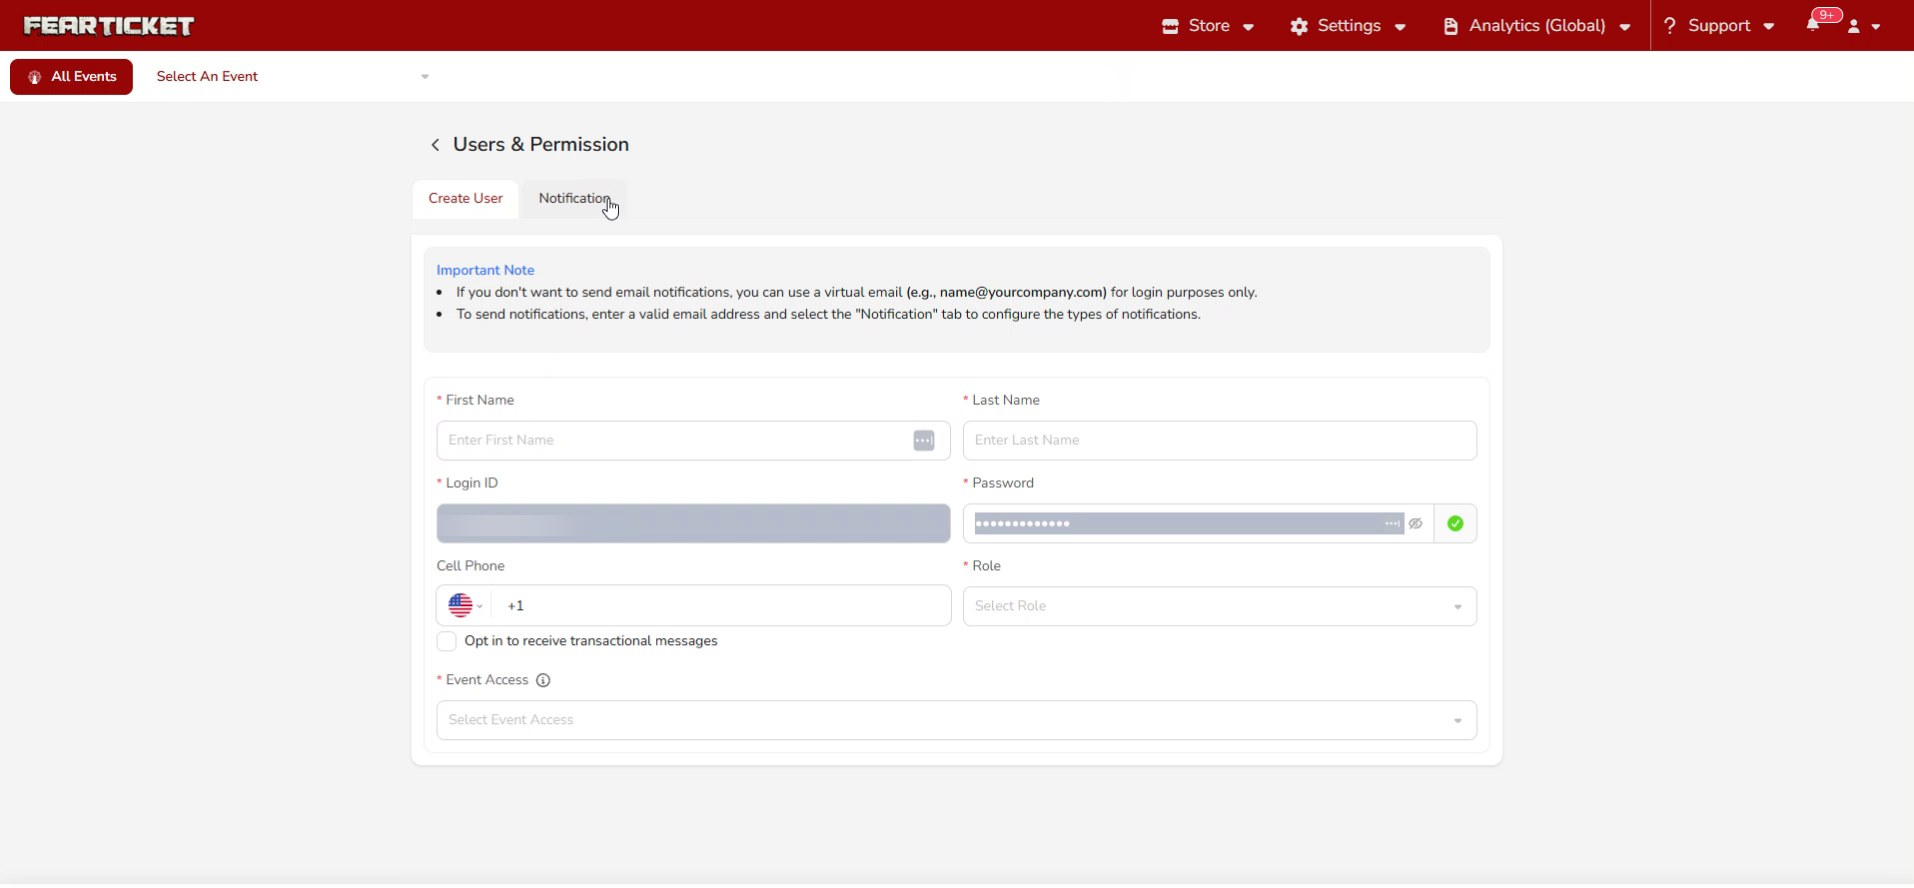
| Field | What to enter |
|---|---|
| First Name / Last Name | The person's name. |
| Login ID | The email they'll use to sign in. If you don't need to send them notifications, a virtual email such as name@yourcompany.com works for login only. |
| Password | A starting password for the account. |
| Cell Phone | Optional. Tick the opt-in box if they should receive transactional text messages. |
| Role | The role that defines what this user can do (see below). |
| Event Access | Which events this user can work with. |
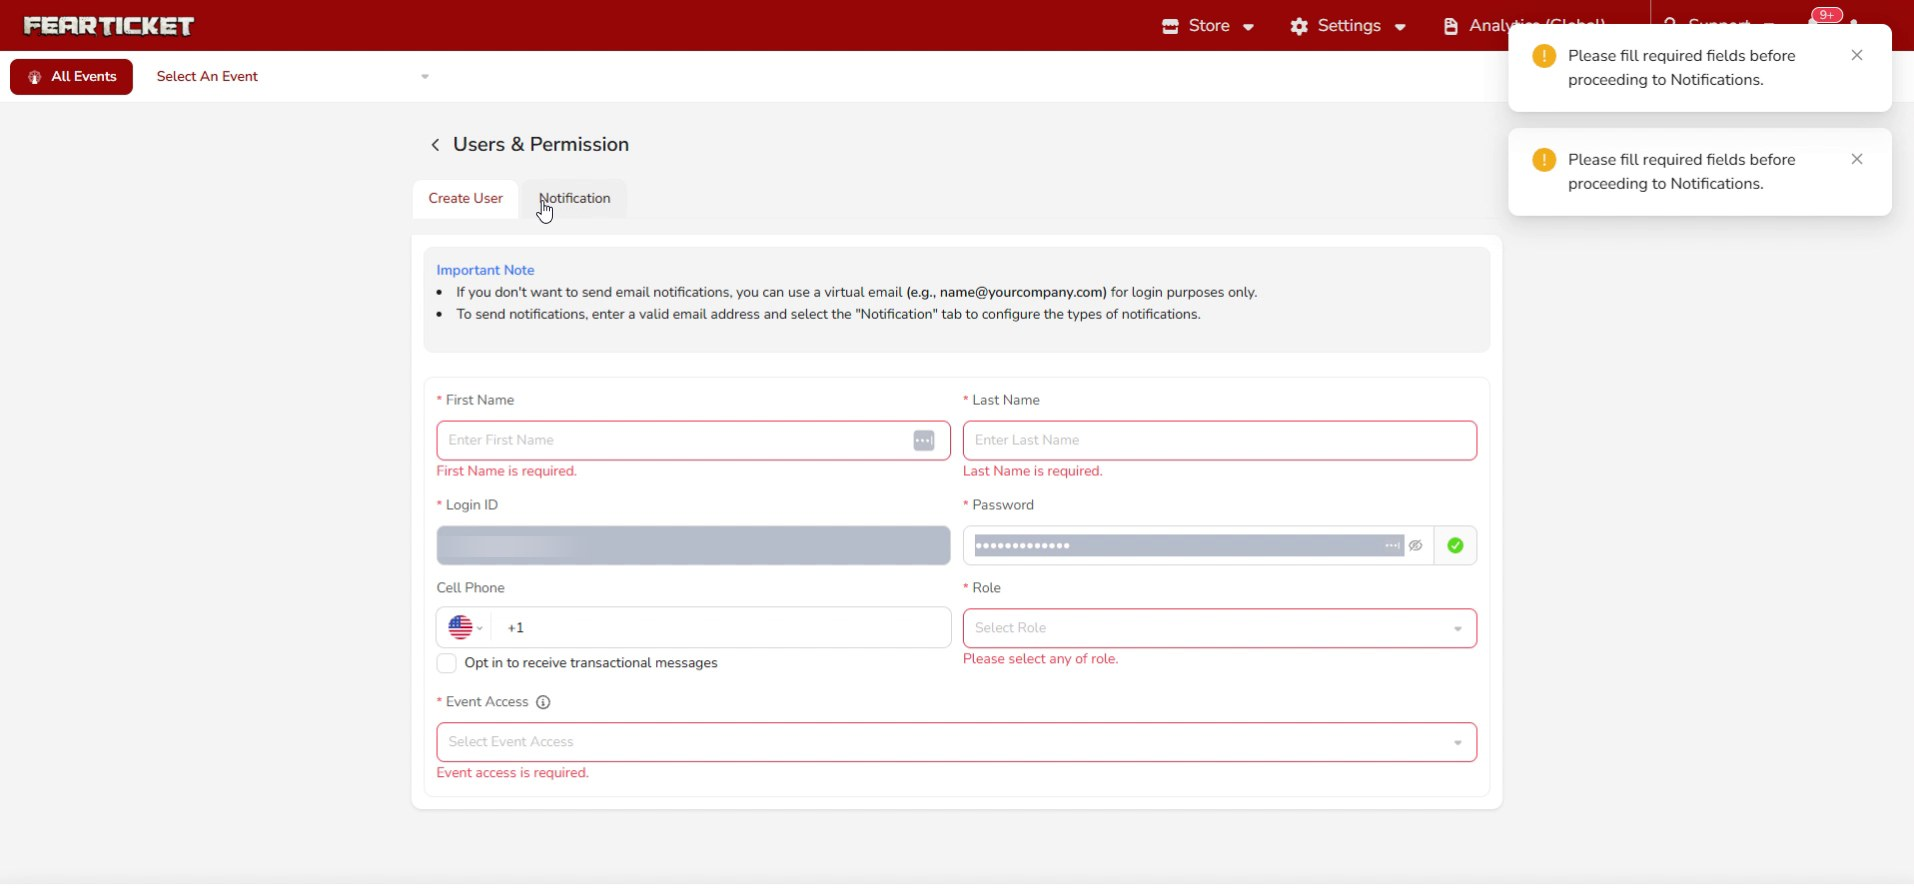
All required fields must be filled before you can save. If any are missing, the form highlights them.
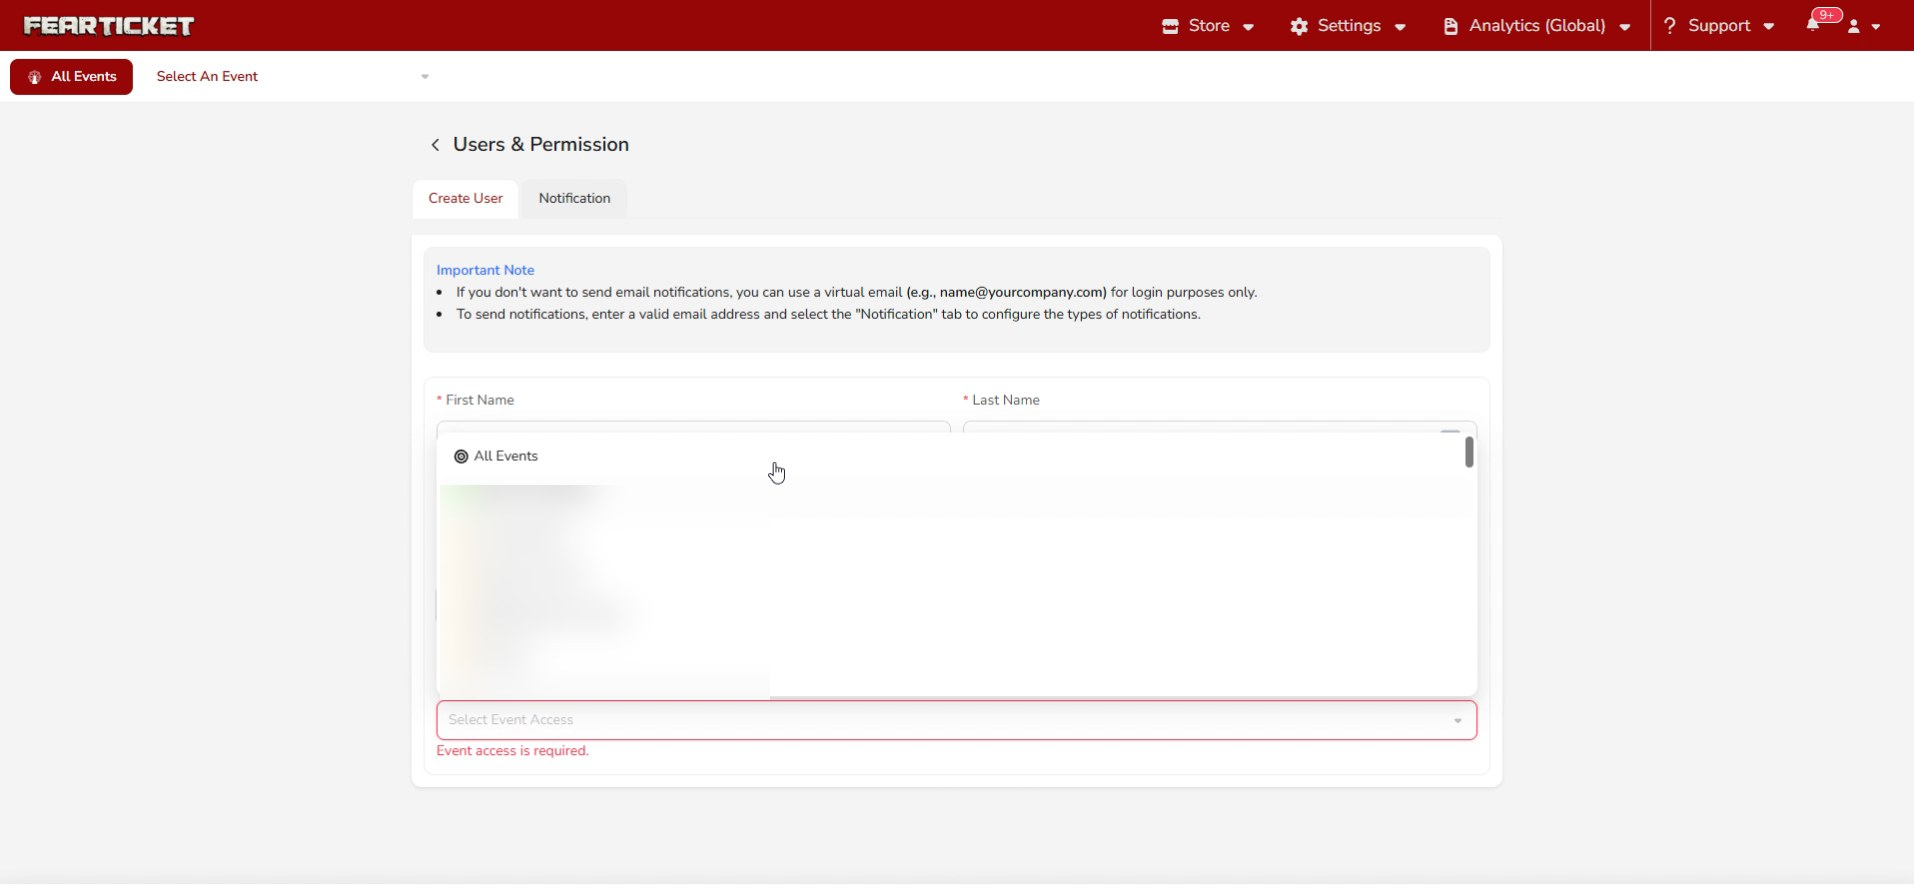
Setting event access
Under Event Access, choose All Events to give access to everything, or pick one or more specific events to limit the user to just those.
Setting up notifications
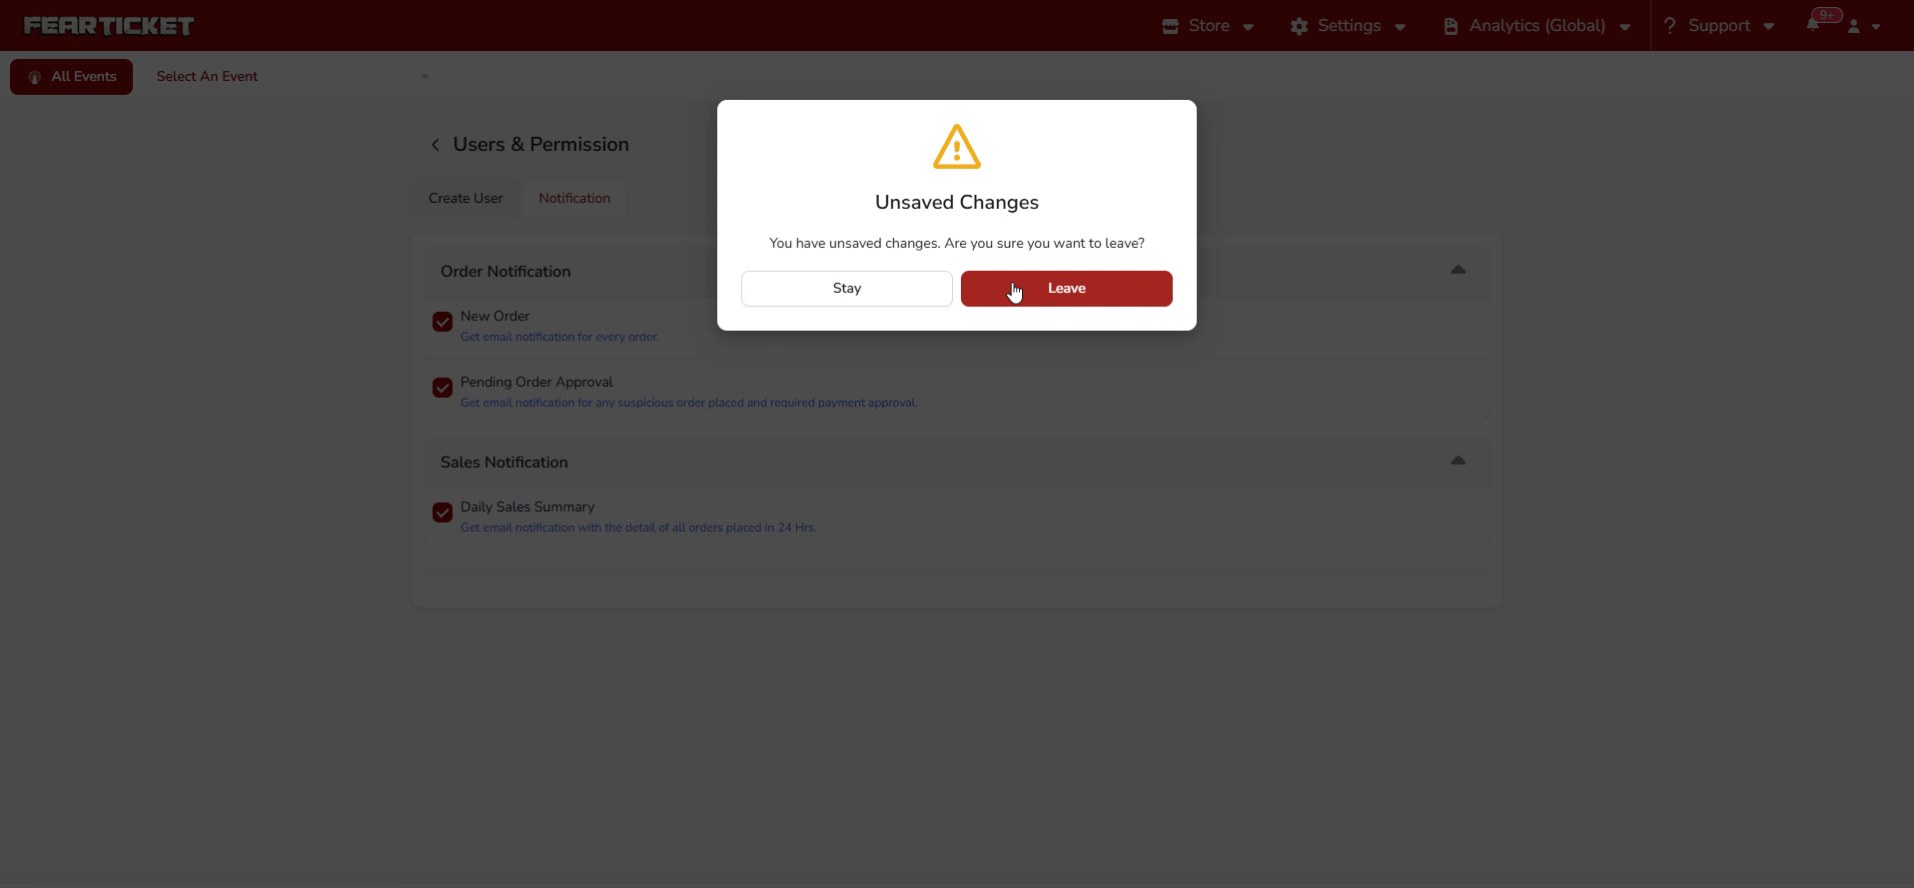
Switch to the Notification tab to choose which emails this user receives, such as new order alerts, pending order approvals, and the daily sales summary. Turn on only the ones that are relevant to their role.
The Role & Permissions tab
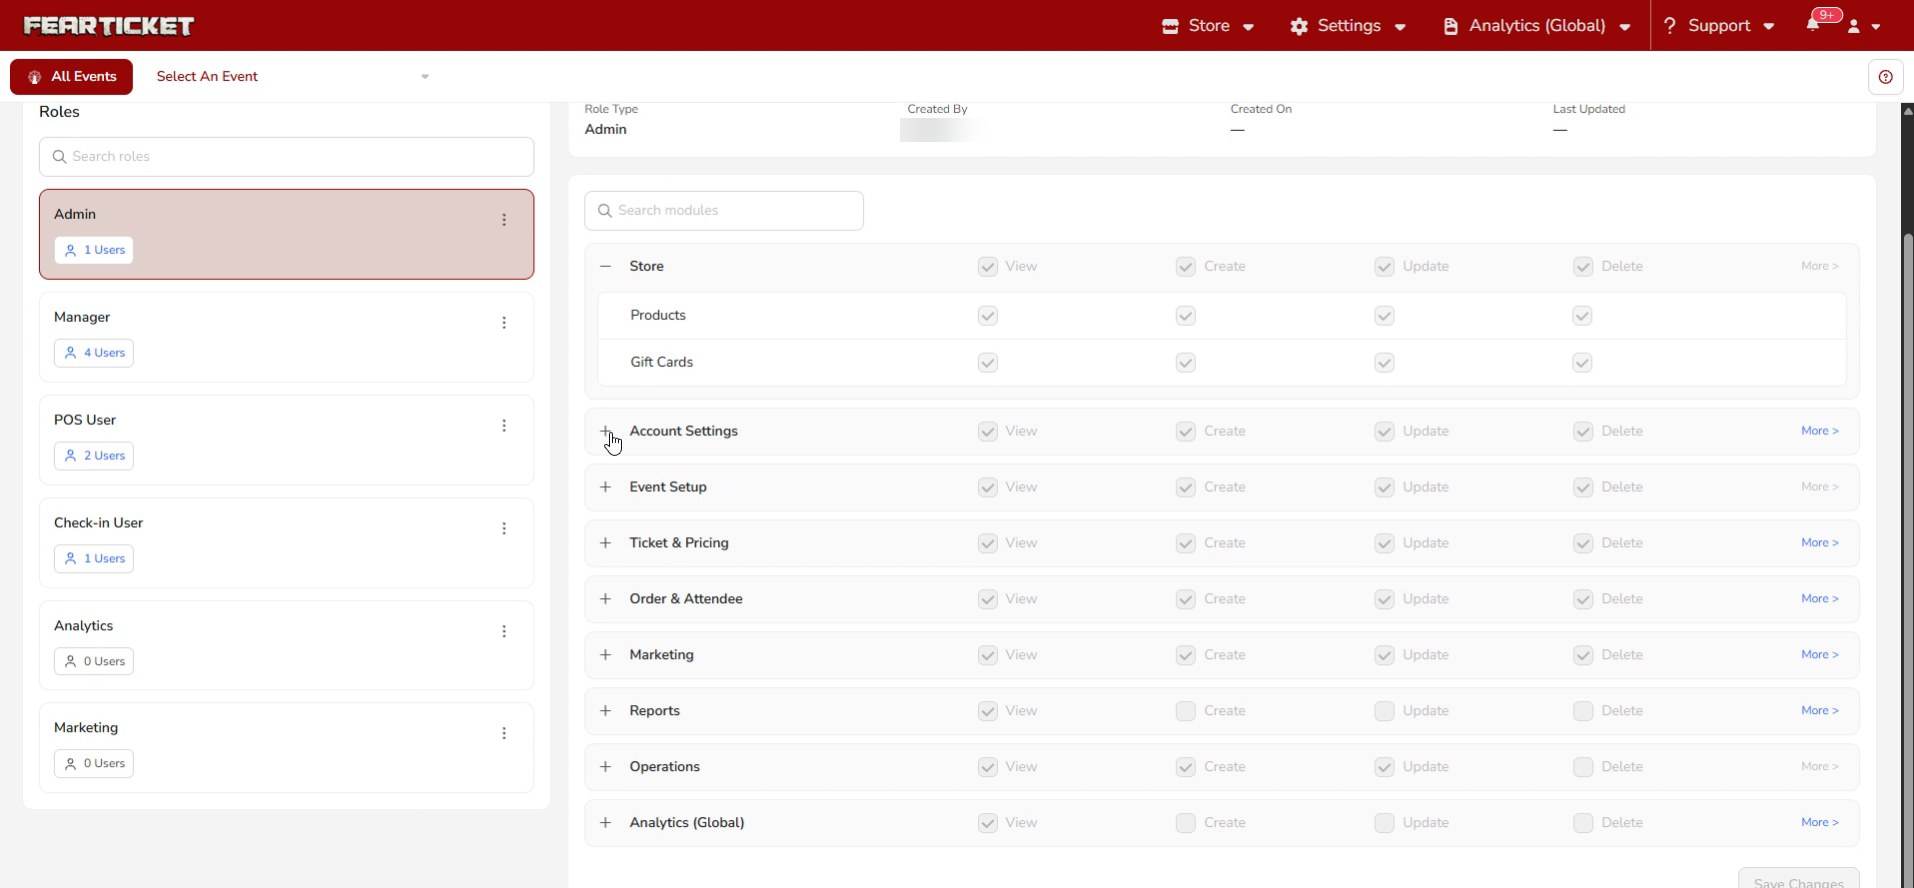
The Role & Permissions tab lists your roles on the left, such as Admin, Manager, POS User, and Check-in User, along with how many users each has. Select a role to see its permission grid on the right, where each module has View, Create, Update, and Delete options.
Fine-tuning permissions
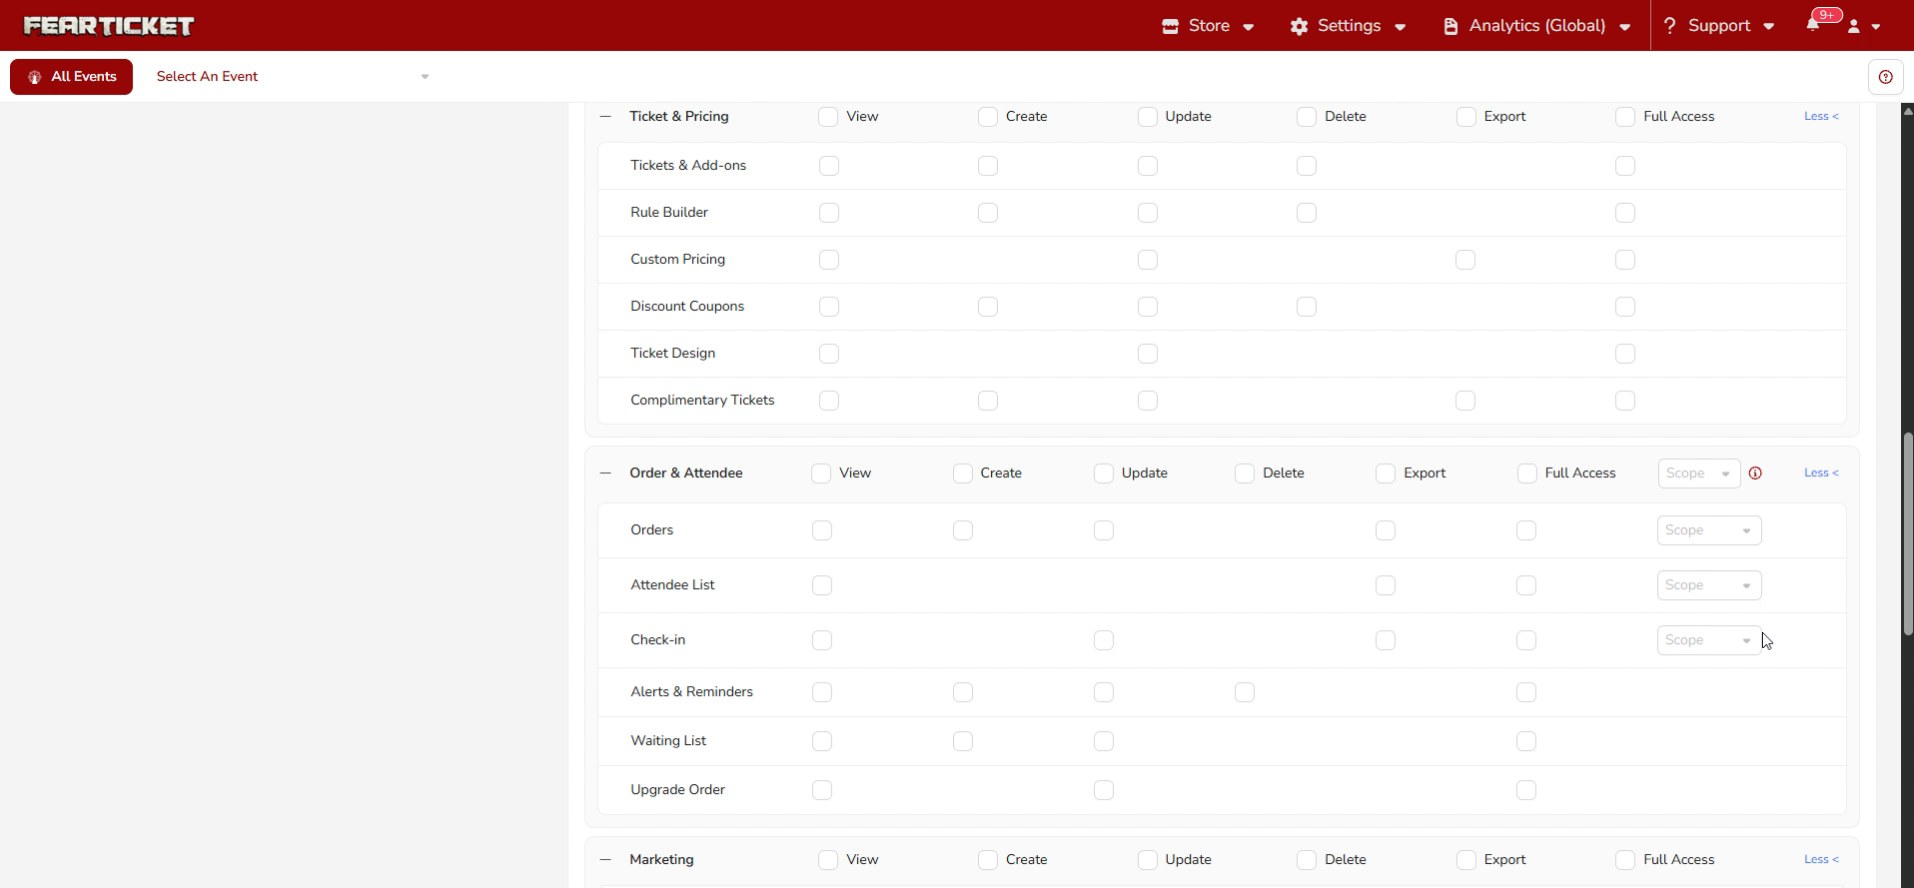
Click More on any module to expand extra controls like Export, Full Access, and a Scope option for certain areas. Tick or untick boxes to set exactly what the role can do, then click Save Changes.
Creating a new role
Click New Role to open the Create New Role dialog. Give the role a name and an optional description, then click Create Role. Once created, set its permissions in the grid just like any other role.
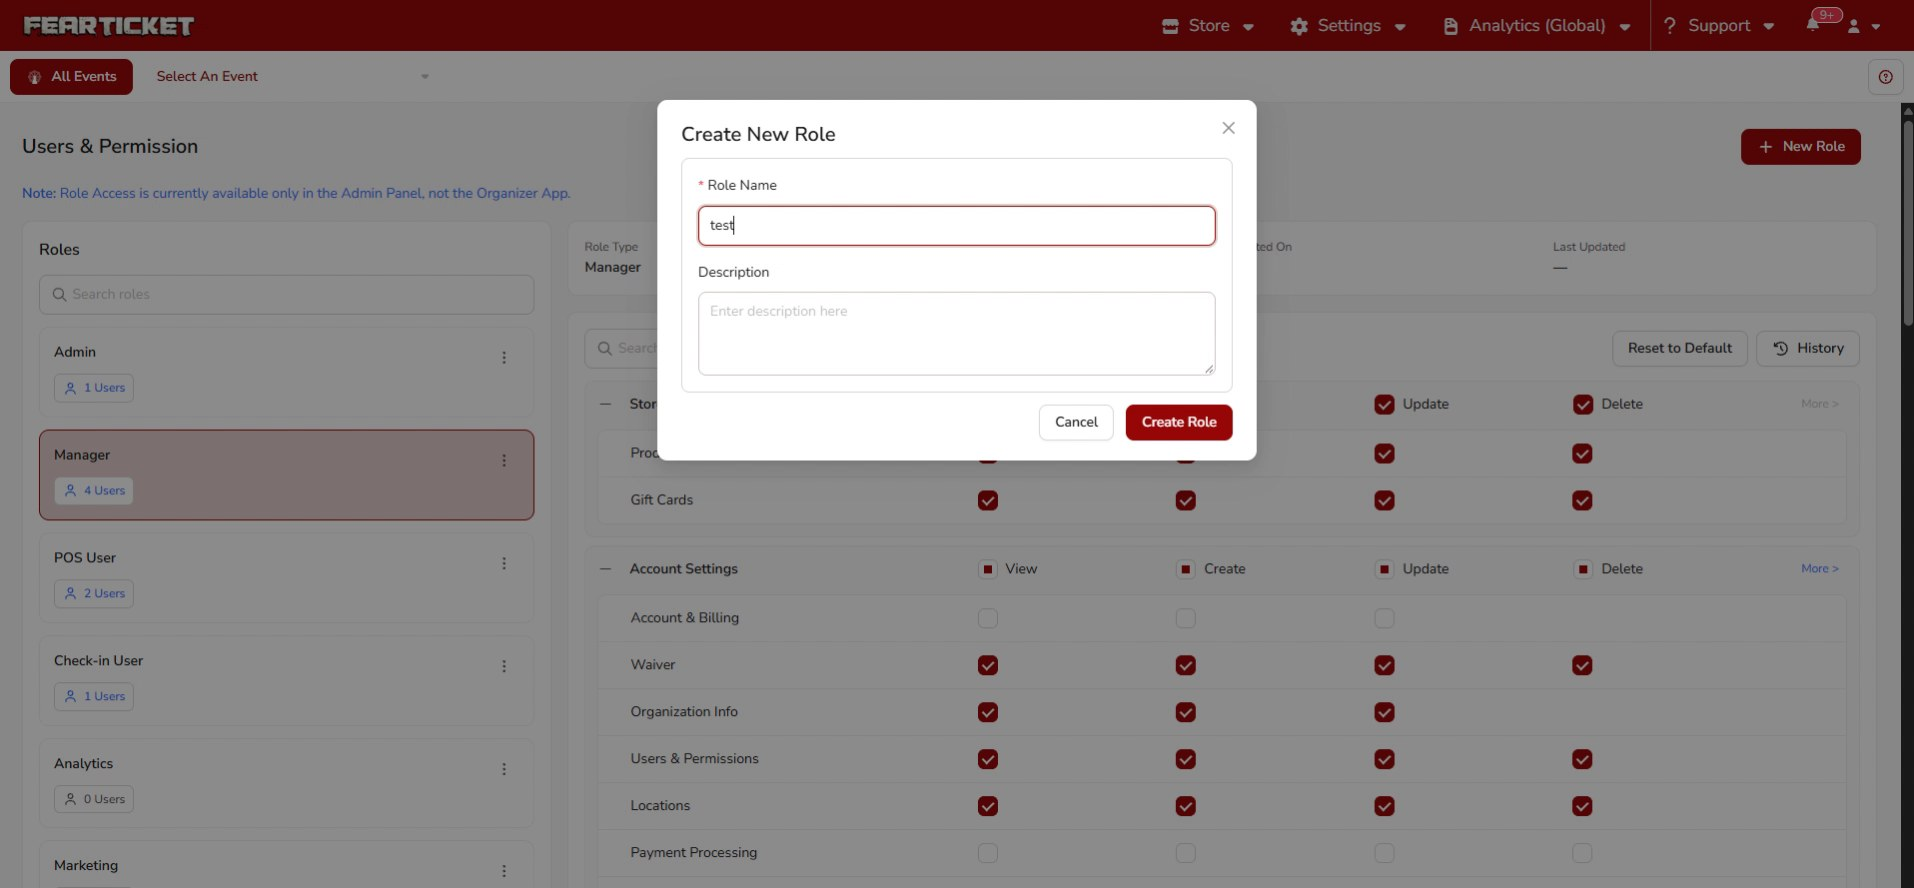
Reset to Default to undo changes to a built-in role, or History to review past edits.Was this article helpful?
That’s Great!
Thank you for your feedback
Sorry! We couldn't be helpful
Thank you for your feedback
Feedback sent
We appreciate your effort and will try to fix the article